Navbar

Image Map
Showing posts with label health. Show all posts

Thursday, August 21, 2014

Eleni's Stuffed Tomato Recipe

Hi all! I've been super busy trying some new recipes and deciding what to post on here. I've got a particular recipe I'm looking forward to posting, but am working on getting all the ingredients together to cook it again with photos. I'm also working on regular and low carb pita recipes. I'll be sure to share when I get them to my liking!

Today, I want to share what we had for dinner: stuffed tomatoes. These were oh-so good! You should definitely give this recipe a try! We had ours along with Γιαγια's (yiayia's or grandma's) recipe for φασολακια (green beans), which is another recipe near and dear to my heart that I or Alex will have to share. Onto this recipe.


Stuffed Tomatoes:

  • 4 large beefsteak tomatoes 
  • 1 lb. ground beef 
  • 1/2 onion, minced
  • 1 1/2 t. salt 
  • 1 1/2 t. black pepper 
  • 1 t. oregano 
  • 1 t. garlic powder 
  • desired amount of feta cheese, crumbled (I would have used a larger chunk, but only had a little left)
  1. Preheat oven to 400 degrees Fahrenheit. 
  2. Cut the tops off each tomato. Using a spoon (I used a dessert spoon with a serrated edge), scoop and scrape around the edge of the tomato to remove the insides from the outer meat and skin. Set hollow tomatoes aside. 


  3. Into a medium bowl, scoop the tomato seeds and juice. I discarded the majority of the tomato meat. The juice helps keep the meat moist and give it a great flavor. Add the beef, onion, and seasonings to the bowl and mash and mix with a fork until well incorporated.

     (This is most of the inner tomato meat. Discard this, or blend it and season it for tomato sauce!)
  4. In a large skillet, brown beef completely. Add feta cheese and mix until fully incorporated.  

  5. Place hollow tomatoes into a baking dish. Spoon and fill the meat mixture into each tomato. 
  6. Bake tomatoes for 25 minutes. 


Viola! Don't those look tasty? As T-Rex says "Mmmm, Momma! Delicious!" 

Keep an eye for more yummy things from us sisters. We have lots more coming your way! Until next time! 

Φιλάκια, 
Eleni

Monday, December 2, 2013

Keto Shepherd's Pie Casserole

Continuing our long-running penchant for ground beef and cauliflower: I whipped this up on Wednesday night. This is a filling and delicious Winter comfort food while being healthy, keto, and very low carb. Also, you get some nice Greek-style tastes here from the olive oil melted garlic, onion and peppers!

Keto Shepherd's Pie Casserole
  • 1 1/2 lbs. ground beef
  • 2 green peppers
  • 2 yellow onions
  • 4 cloves garlic
  • 1 large head of cauliflower
  • 4 tablespoons unsalted butter
  • 2 tablespoons extra virgin olive oil
  • salt, pepper, cayenne pepper to taste
  • cheddar cheese

1.) Finely chop peppers, onions, and garlic. Sauté salted vegetables on medium high heat in olive oil until onions and garlic are "melted" and translucent.

2.) While veggies are cooking, remove outer leaves and stem of cauliflower. Roughly chop up the cauliflower. Boil chopped cauliflower in salted water. Make sure the boiled cauliflower is still firm and not mushy -- you want your faux-tato casserole topping to be creamy, not watery. Drain cauliflower.

3.) Once vegetables are cooked and melted, add ground beef and salt and pepper to taste. Brown meat in vegetable mixture.

3.) Add salt, butter, and pepper to taste to your boiled, drained cauliflower. Then mix all in food processor or blender. (I used my trusty Ninja!) Set faux-tato mash aside.

4.) Once meat mixture is cooked, layer meat evenly into a casserole pan.


5.) Evenly spread your faux-tatoes on top of the meat mixture.
 

Pro Tip: A flexible spatula is the best way to get a nice and even layer here. It's useful for lots of things, really, including icing baked goods. We have a great set of silicone spatulas in three different sizes. Bonus when using silicone spatulas: they don't melt at high heat!


6.) Grate cheddar cheese and sprinkle on top of the casserole. I did this because cauliflower does not brown the way potatoes do in a traditional Shepherd's pie -- cauliflower lacks the starch to do so. The melted cheese on top basically completes the "look" of the pie. It's also delicious! I also lightly sprinkled on some cayenne for the same reasons (and you know how much I love cayenne!)


7.) Bake casserole in oven for 25 minutes at 375 degrees. Keep an eye out, though...if the sides start bubbling over, take it out ASAP!

8.) Admire your pretty pie.


9.) EAT!

Pro Tip #2: Wait about 5-10 minutes to let this cool down and use your large silicone spatula to cut squares and serve (as you can see from the above picture, I was in a rush and hungry and didn't take my own advice at first...). This casserole really stays together and looks nice. It's also very easily reheatable!

I hope you enjoy this recipe as much as Bear and I did! Let us know what you think in the comments!

-Alex

Thursday, November 21, 2013

Homemade Chicken and Veggie Soup (Keto/Low-Carb Friendly)

Yesterday I was sick. I woke up and wanted nothing more than to curl back under the covers and die. But, alas, I have a little one to play with all day, and a house to clean in anticipation for opening my home daycare (I cannot put into words how excited and nervous I am!!). Sore throat, headache, body aches, the chills, yet no fever. I had no real appetite, which is insane, just ask my sisters. What could I eat at a time like this? Homemade chicken soup, of course!

This is very similar to the soup that our Yiayia and Papa Sid made us when we were sick. The one difference is they would both add rice. Obviously that doesn't work for our keto household, so I left it out. I'll write an option for it if you would like rice in your soup.

Homemade Chicken and Veggie Soup (Greek Style)

  • Olive oil
  • 1/2 of a medium onion, finely diced
  • 2 chicken breasts 
  • 4 chicken bouillon cubes 
  • 8 cups water 
  • 1 cup of celery, sliced 
  • 1 cup of carrots, sliced 
  • Optional: 1/2 cup rice. I prefer brown rice, but don't use rice when Hubster will be eating it


  1. In a large pot, drizzle a bit of olive oil. On medium heat, sauté onions until translucent. 
  2. Add chicken breasts, bouillon cubes, and water to the pot. Bring mixture to a roiling boil, then reduce heat, cover, and simmer about 45 minutes. Optional:if you are adding rice, add it to the pot now.
  3. Uncover, pull chicken breasts out of pot, and cut into small pieces, or shred. Whichever you prefer. I used kitchen shears and cut the chicken up to my liking. 

  4. Add chicken back to the pot. Add carrots and celery to the pot. Cover and simmer for 15-20 minutes, until veggies are tender, but not mushy. 
  5. Remove from heat and enjoy your lovely cold weather comfort food. 

This soup turned out great! In the past, I have had a hard time seasoning soup well enough, but the bouillon, chicken, and veggies add great flavor. Hubster is usually critical of my soup (he has been such a trooper with my experiments!) and he loved this soup. T-Rex really enjoyed it too! We ate the soup along with cheese quesadillas and it was quite the yummy combination. It had me feeling much better on this yucky, sick day. 


I hope this soup brings you comfort as it did for me! Feel free to comment and let us know how you are liking the recipes!! Until next time. 

Φιλάκια, 
Eleni

Thursday, November 14, 2013

Easy (low-carb/keto) Crockpot Meatballs

I love to use the crockpot in the wintertime! So here's another crockpot recipe. Fair warning: there's probably going to be a lot of crockpot-centric recipes posted here in the next few months.  


We made these delicious meatballs yesterday, and they are now all gone. This is totally on Bear, by the way. I only got to eat, like, 4 of them. Very quick to prepare (and eat!)

Easy Crockpot Meatballs
  • 1 1/2 to 2 pounds ground beef
  • 1 medium onion
  • 4 cloves garlic
  • 2 large eggs
  • 1 tablespoon almond flour (a substitute for traditional breadcrumbs)
  • spices to your taste -- I (of course) used a bit of cayenne pepper, some salt and pepper, and a dash of steak rub.  If I had had some oregano, I think that would have been nice.
  • enough olive oil for browning in pan and to grease crockpot
1.) Mince garlic and roughly chop up onion.

2.) Mix vegetables with all other ingredients in large mixing bowl, until meat is not texturized any longer and is "sticky" to touch.

 
3.) Roll meat into balls of your choice size.  Mine were about 1 1/2 inch or so diameter. You can do little mini-balls or big oval sized keftedes (Greek meatballs). I use my hands, but you can use a meat-baller if you like. Eleni HATES touching meat, so this is something she could use:


4.) Lightly brown meatballs on medium-high heat on olive oil greased pan (this took me two rounds to do with about 1.6 pounds of meat).


Blurry balls!
5.) Transfer your meatballs to the greased crockpot. 


All the balls should lie flat in the base of the crockpot.


From there it's just plug and play! I put these in the fridge overnight, then cooked these on "Low" for about 7 hours, starting when I left for work in the morning the next day. They are hearty and tasty (and now completely gone). You can eat them as is, or dress them up with various sauces or sides.


We took the lazy route (as always!), and I cooked a bag of chopped, frozen broccoli cuts in a jar of alfredo sauce. Then we melted some mozzarella over the whole shebang.

YUM!
This recipe was quick, easy, ready when I got home from work, super filling, and--of course-- low-carb/keto friendly.

The only problem is that Bear eats it all so fast!

Enjoy and see you next time. As always, we'd love your comments and suggestions.

-Alex

Friday, October 18, 2013

Eating Healthy While On the Go

A friend of mine told me how she felt there are not enough ideas on eating healthy with a busy schedule or on the go. I thought I would share a few of the things we do around here to make sure we have something to grab when we are out the door. One thing I always try to keep around the house is trail mix. I love trail mix because you can add whatever suits you. For instance, I am not fond of peanuts, but almost all of the pre-made, store-bought trail mix uses peanuts as its primary filler. I have been making trail mix for years. It is great to keep around, easy to bag to throw in a purse or lunch bag, and is pretty filling. I'll share what I put in mine, but remember that it is so easy to customize to your own taste. 
Eleni's Favorite Trail Mix:
  • 1 bag of whole, salted almonds
  • 1 bag or canister of salted cashews
  • 1 bag of dried mixed berries
  • 1/2 bag of semi-sweet chocolate chips
  • Large container with lid                                                                 IMG_20131011_204256
  1. Starting with almonds, add a layer to cover the bottom of the container.
  2. Add a layer of each ingredient:cashews, berries, chocolate chips, almonds, cashews, berries, chocolate chips, almonds, and so on and so forth.                        IMG_20131011_204311
  3. Continue this pattern of layers until you have used all ingredients. Cap the container and shake well to mix.
  4. Cap your container to store and enjoy your mix. IMG_20131011_204530
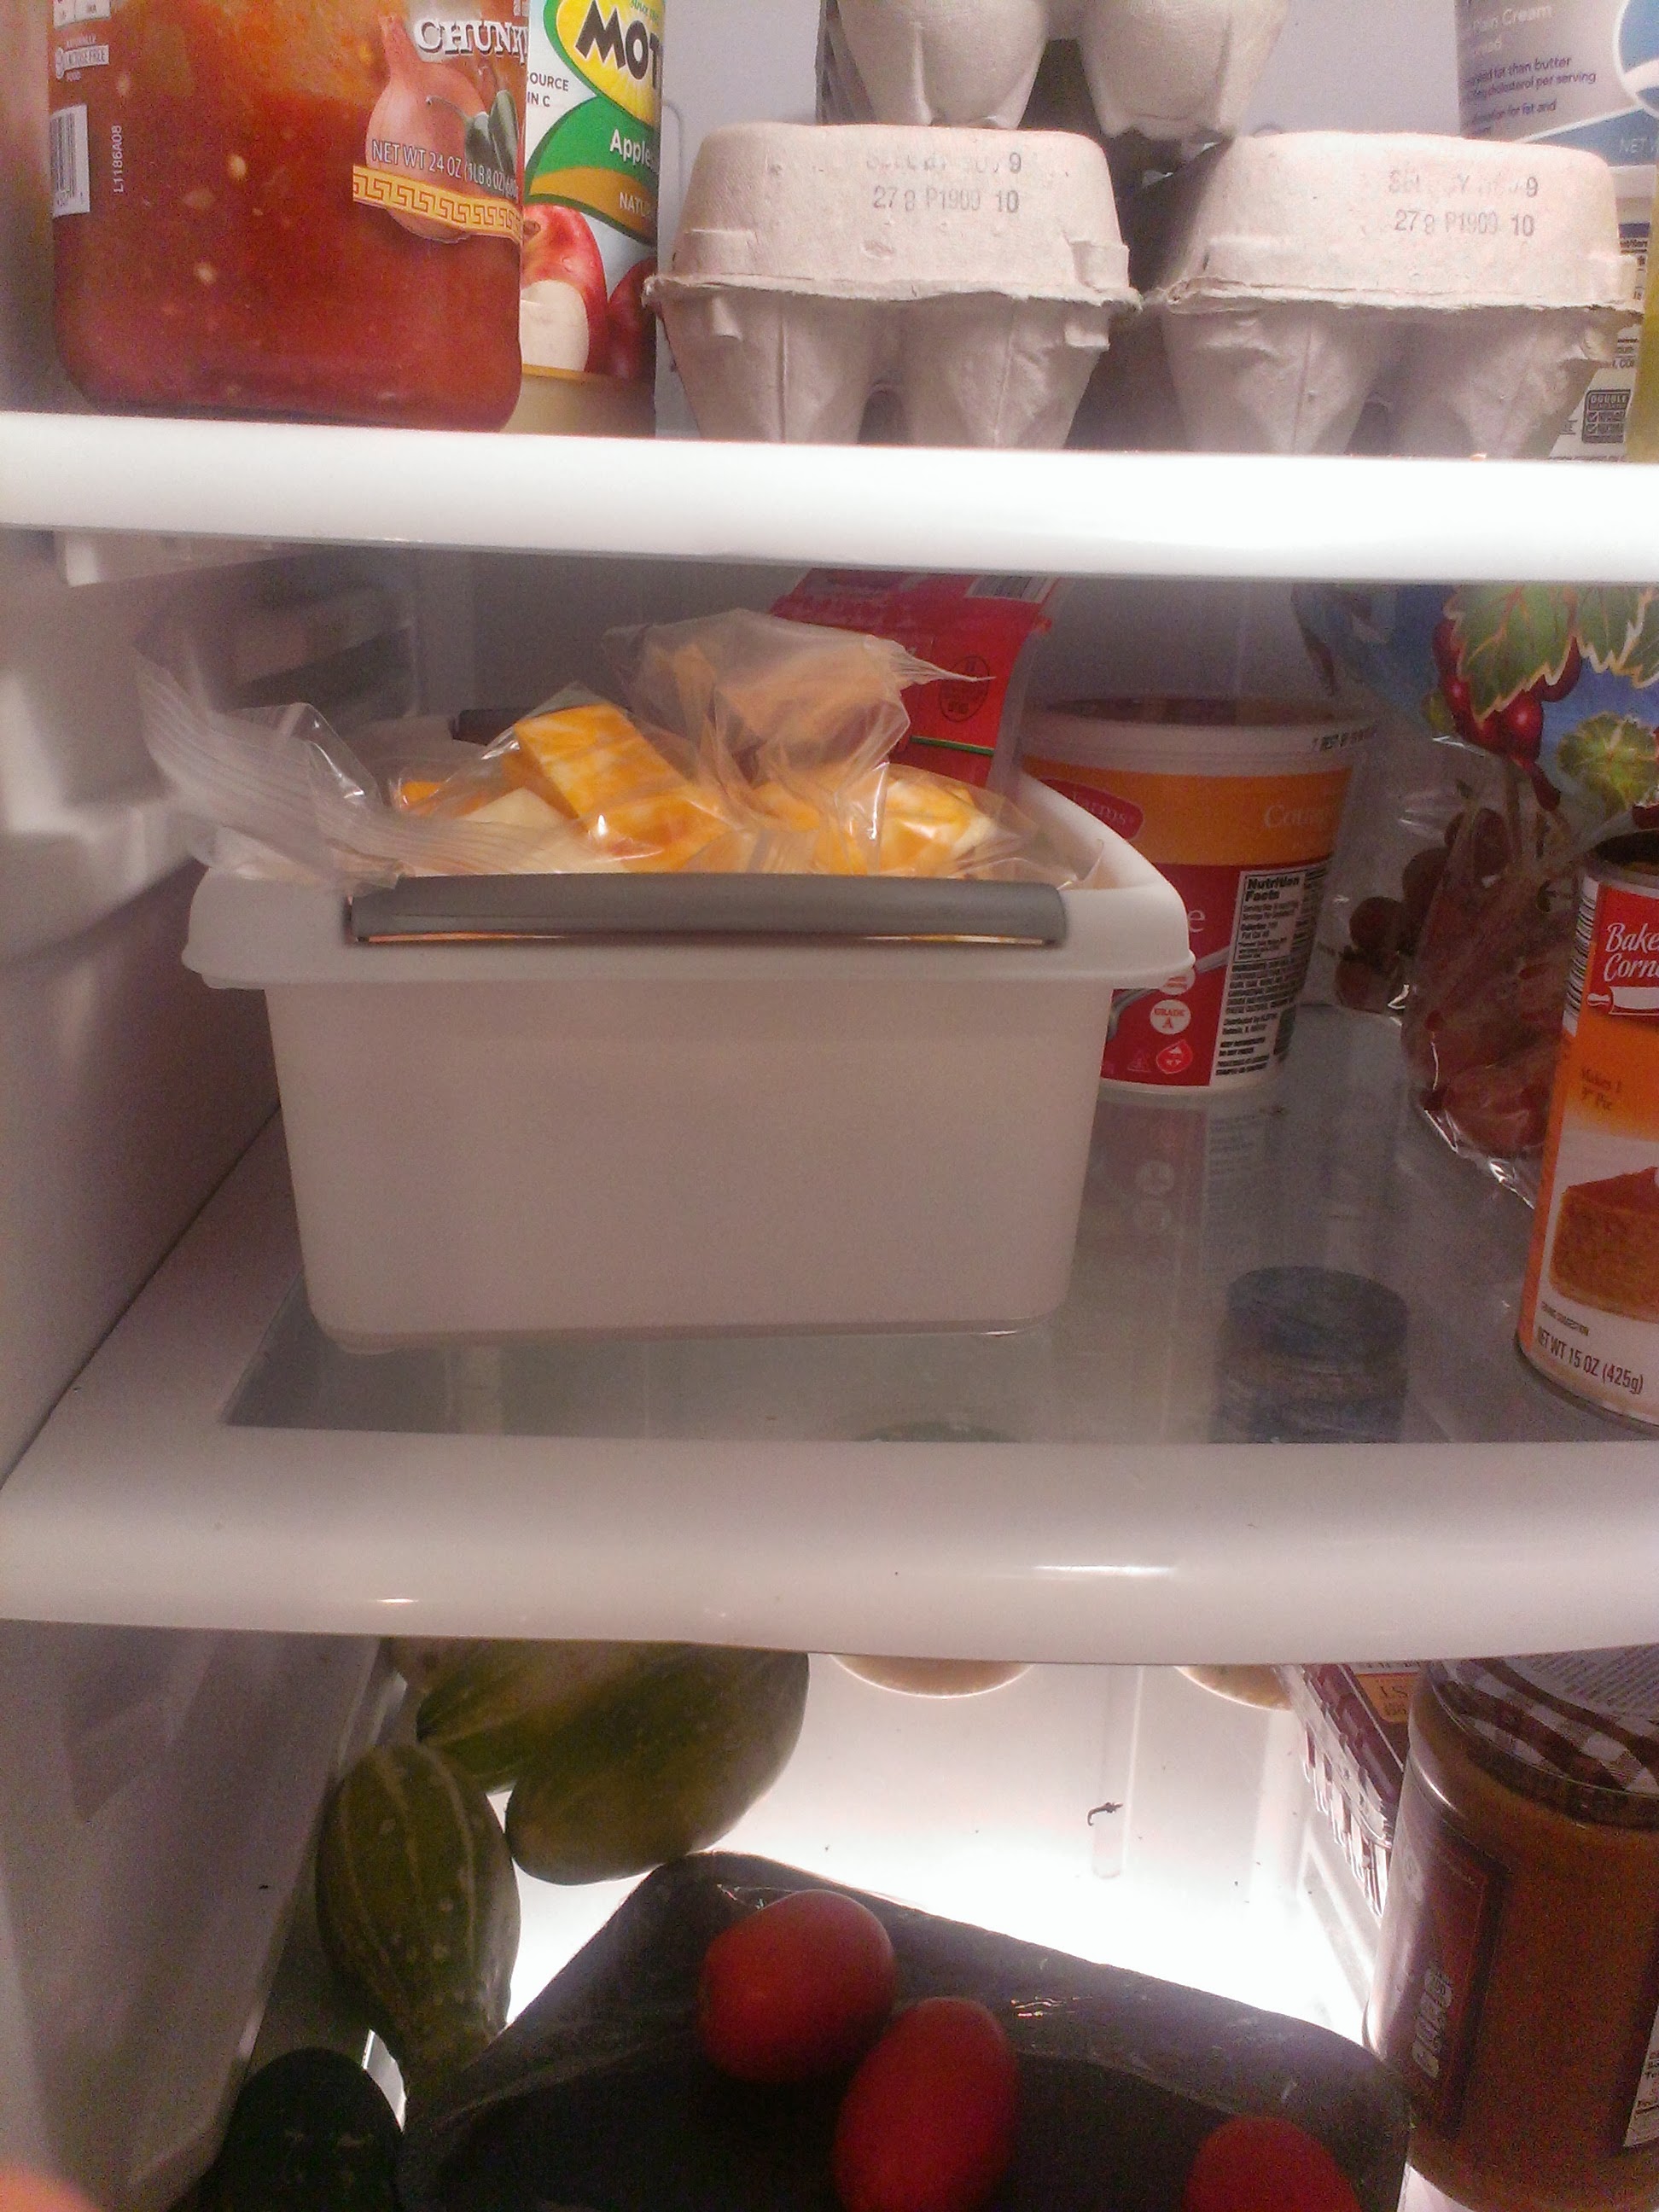
Another thing I like to keep stocked is a little "snack basket" in the fridge. I'll list what I keep in this, then give needed guides further down the page. It takes maybe 30 minutes to fill, so I block out some time at the beginning of the week and BAM! snacks for the whole week!
 IMG_20131016_212924IMG_20131016_212939
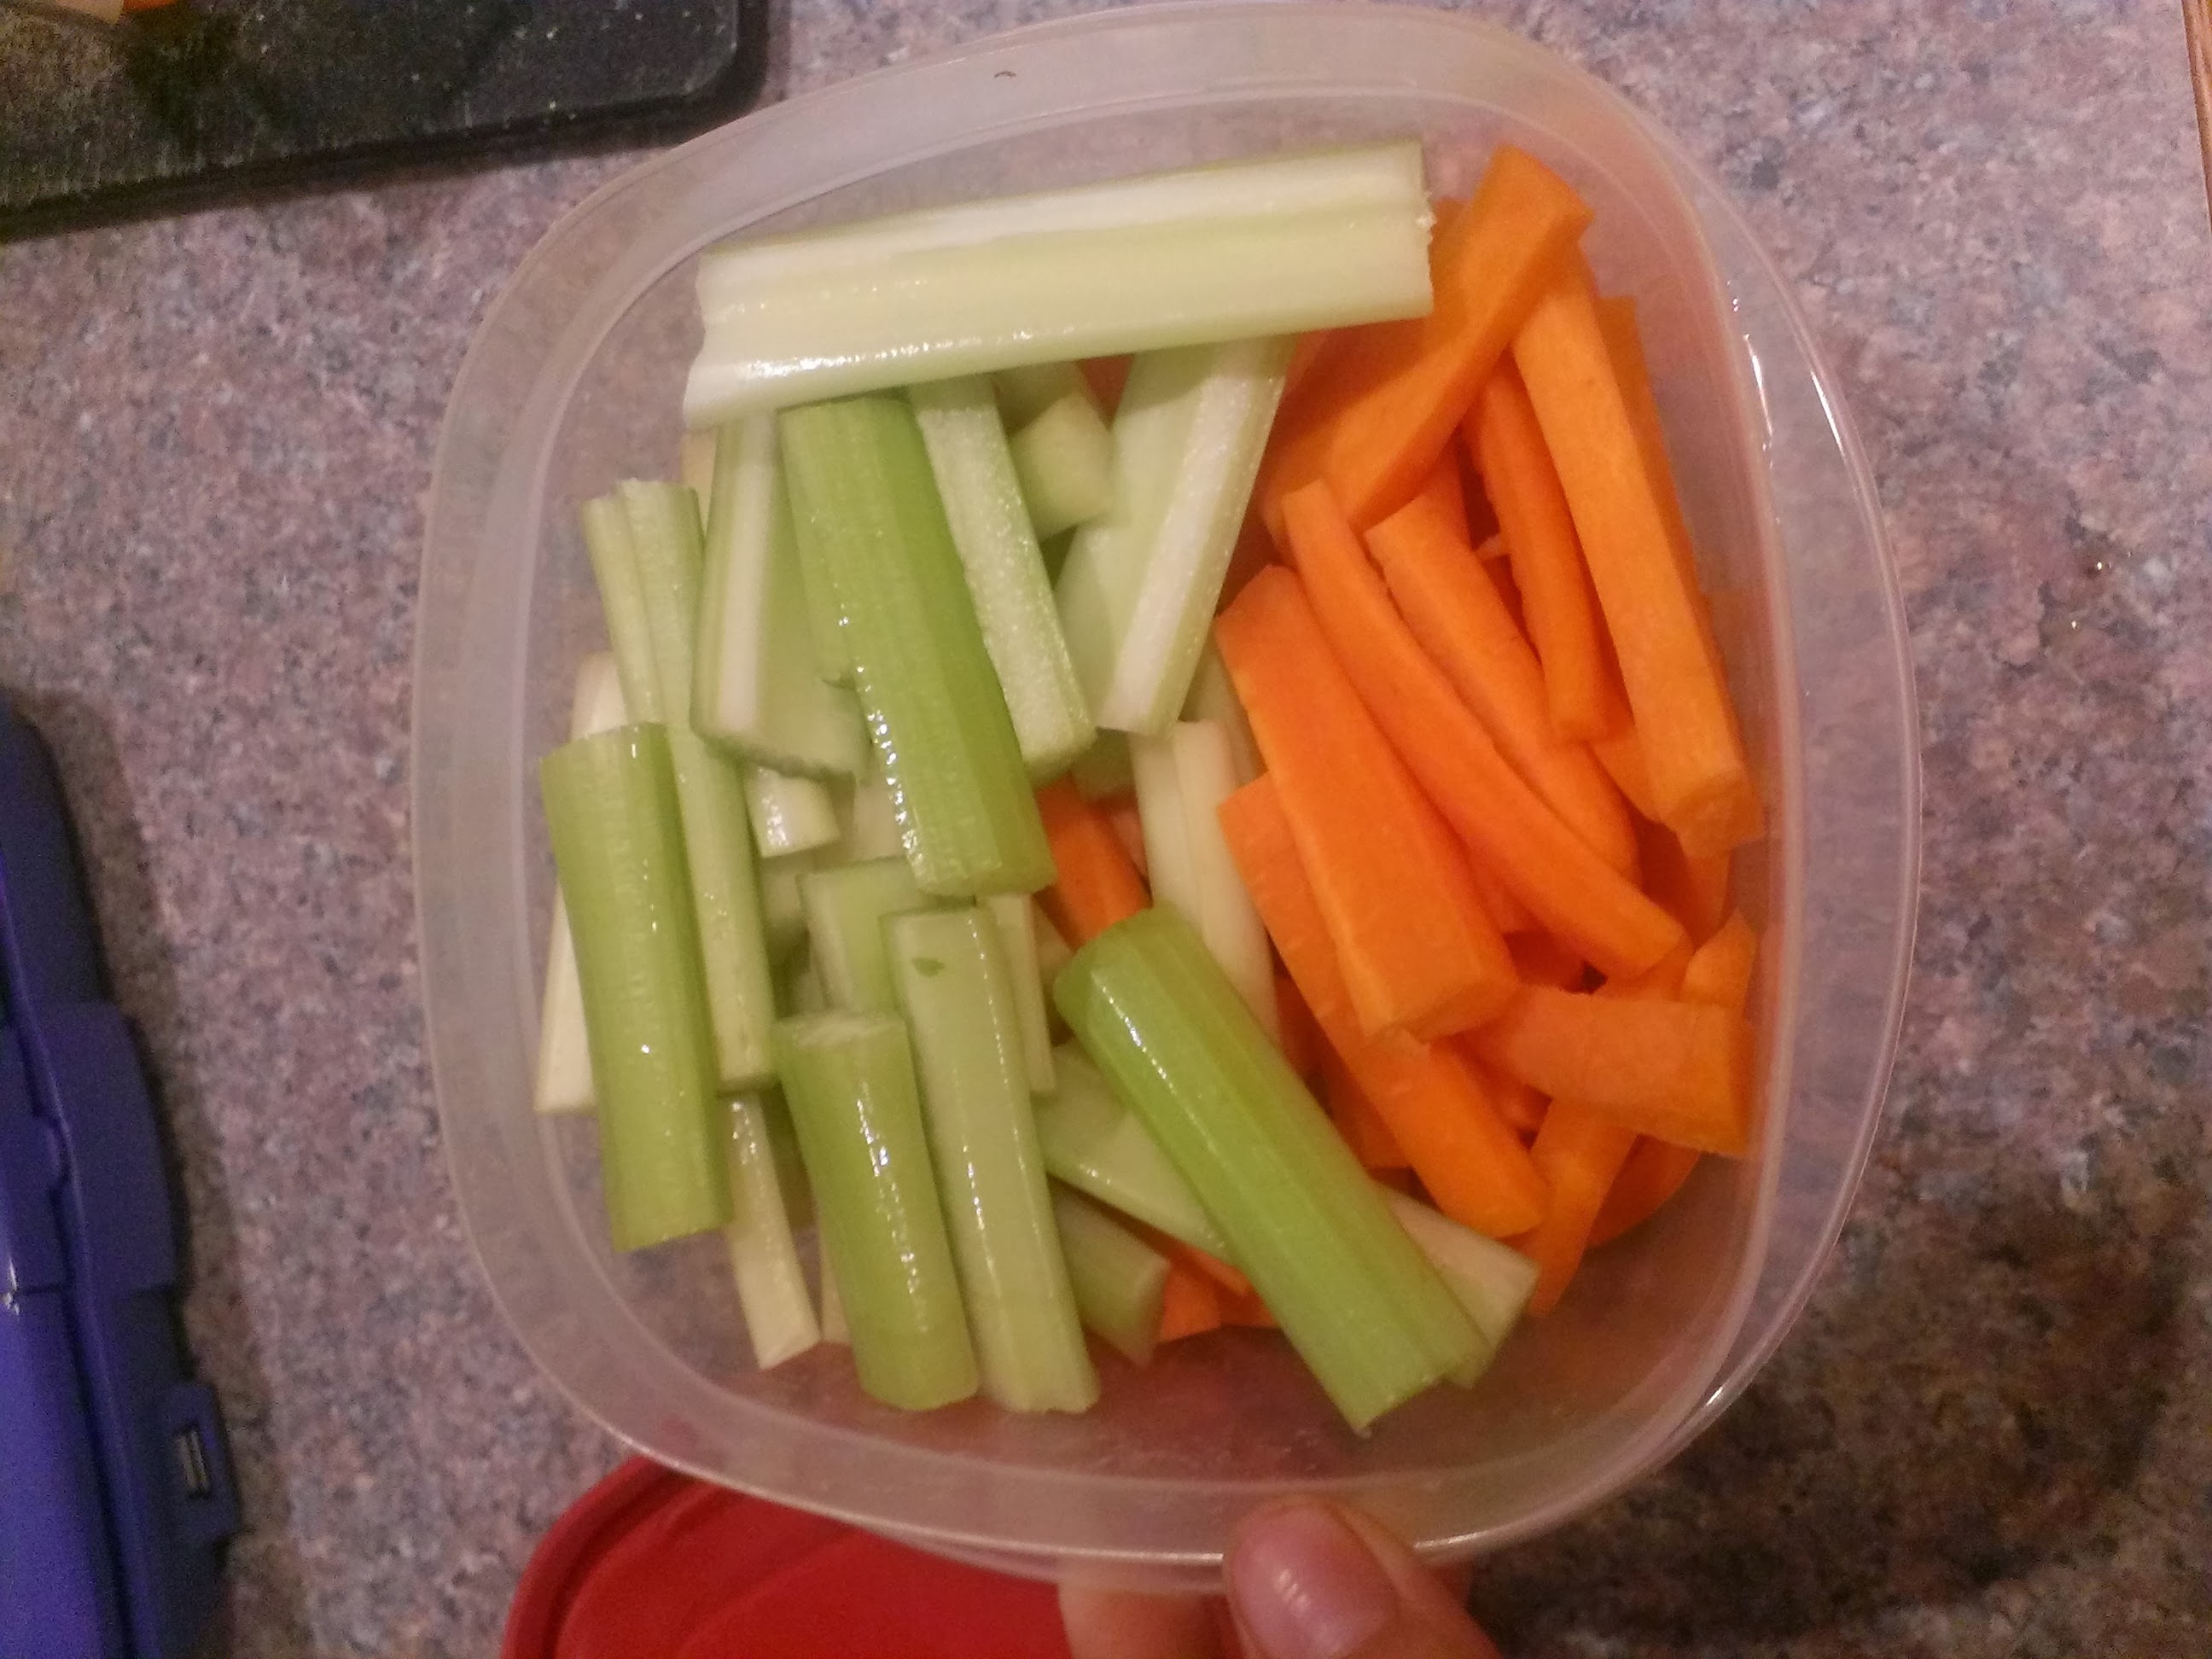
 At the beginning of the week, I slice up a block of each Colby Jack, Mild Cheddar, and Mozzarella cheese. I add about 3 slices of each cheese to sandwich bags. I toss these into the basket for a quick, easy, healthy, keto-friendly snack. I also keep a bag of pepperoni in the basket. It is easy to throw a handful of these into a cheese bag to take with. I also like to keep hard-boiled eggs in the snack basket. I always manage to mess up the boiling, so instead I bake my eggs. It makes for fool-proof, easy-to-peel eggs! I also like to keep easy to grab, ready-washed fruit. I normally add pears or apples, since they need no container. T-Rex also loves apples and pears! You can add any fruit, or snack, for that matter, that you like. The last handy snack I keep around is a large container of celery and carrot sticks. Throw some in a baggie, grab a little container of your favorite dip, and you are good to go!
 IMG_20131016_212901 
Baked "Hard-Boiled" Eggs: 
I found the guide/idea for this on Pinterest. Here is the original blog post for this: http://www.theburlapbag.com/2012/03/make-hard-boiled-eggs-in-the-oven/
  • One dozen eggs (or how ever many you would like to make)
  • Mini muffin pan
  • Large bowl
  • Cold water and ice
  1. Preheat oven to 325 degrees Fahrenheit.
  2. Load your eggs into the mini muffins tins.
  3. Bake eggs for 30-35 minutes. Speckling on the egg shell is normal.
  4. Fill the large bowl with cold water and ice.
  5. Remove eggs from oven. Let cool for a few minutes. Carefully submerge eggs in the cold water.
  6. Let eggs soak for 10 minutes. Remove from bowl and dry shell.
I know this is a long post, but I have one more thing to share with you! Since quick, easy, healthy recipes are something I think everyone can benefit from, I will try to post a "Hump Day" recipe every Wednesday to help you get through the rest of your week. This week I will post a quick and yummy recipe for chicken tacos in your slow cooker! 
Slow Cooker Chicken Tacos:
  • 4 chicken breasts
  • Half jar of your favorite salsa
  • The following seasonings to taste: cumin, chili powder, salt, and pepper
  • Your favorite taco holder, be it a flour or corn tortilla or taco shells
  • Your choice of toppings. We use shredded Colby Jack, shredded lettuce, sour cream, and sometimes sliced or chopped black olives
  • Slow cooker
  1. Add chicken breasts to the slow cooker. I have actually managed this recipe with frozen or thawed chicken. Don't judge! We all have our busy or forgetful days!
  2. Thoroughly cover chicken with seasonings.
  3. Add half of jar of salsa to slow cooker, coating the tops of the chicken.
  4. Add lid to slow cooker and let this magical device do its thang! Cook thawed chicken on high for 3-4 hours or on low for 6-7 hours. Using frozen chicken, cook on high for 5-6 hours or on low for 8-9 hours. You will know the chicken is done when you can easily pull it apart with two forks. Thoroughly shred the chicken.
  5. Add chicken to your choice taco holder. Add toppings and stuff your hungry face!
For you low-carbers out there, we have found a yummy solution to your tortilla problem. Hubster discovered La Tortilla Factory high fiber tortillas. They taste just like the whole wheat tortillas we enjoyed before Hubster went Keto. They have 10 grams of carbohydrates per tortilla, but 7 grams of fiber, so it evens out to a net total of 3 carbs. Not too shabby when you need an authentic taco fix! They are tricky to find, though, which is why I am linking to Amazon. Walmart does not carry them, but I have managed to find them at Pricechopper and the health food section at Hy-Vee. 

Again, I know this post has been long, but I hope you find it helpful. Let me know what you think of the chicken tacos. We love them around here! Until next time.

Φιλάκια, 
Eleni

Keto-Friendly/Low-Carb Pumpkin Muffins

I know Alex hasn't gotten a chance to post in a bit. She has some awesome guides to share but has had technical difficulties getting them up. Hopefully they will be up soon!
In the meantime, I couldn't wait any longer to share this new muffin recipe. The weather has been getting cooler here in the middle of the country and that means it is pumpkin season! These pumpkin muffins are moist, spiced, pumpkiny, and the perfect snack for fall. The base for these muffins is almond flour. The closest store that sells almond flour isn't all that close, unfortunately. Instead, I make my own almond flours straight from, you guessed it, almonds! Here is my guide to making almond flour:
You will need:
  • 12 oz. bag of whole, raw, unsalted almonds
  • a blender or food processor
  • a medium bowl
  •  a mesh strainer   IMG_20130927_115451
  1. Add about 1/4 of your almonds to your blender/processor. I used my Magic Bullet, so I will now refer to the blender/processor as "the bullet"
  2. Blend almond until powdery. Once you reach this point, stop immediately. If you process the almonds much longer, they will warm and begin to release their natural oils and you will have the beginning stages of almond butter!
  3. Put your strainer into the medium bowl. Dump the almond flour into the strainer and gently shake the strainer to pull out the flour and leave the larger pieces in the strainer.IMG_20130927_115528
  4. Put larger pieces back into bullet and reprocess.IMG_20130927_115556
  5. Strain again. Now add another 1/4 of almonds to the bullet.
  6. Repeat steps 1-5 until you have used up all the almonds. I had a few pieces left (pictured), but when attempting to process them, they just bounced around the bullet. I just threw those out. You could also eat them. Yum!      IMG_20130927_115703
  7. Store in your choice of container.                                     IMG_20130927_115818
Now that you have a stash of almond flour, let's get on to these yummy muffins!
Keto Pumpkin Muffins:
  • 2 cups almond flour
  • 1 tablespoon baking powder
  • 1 tablespoon baking soda
  • 1/2 teaspoon salt
  • 1 tablespoon pumpkin pie spice (this was just laziness on my part.  You could do 1/2 t. cinnamon and 1/4 t. each of ginger, nutmeg, and allspice).
  • 2/3 cup Splenda brown sugar
  • 1 can pumpkin  (NOT pumpkin pie filling)                          IMG_20130927_122446
  1. Preheat oven to 350 degrees Fahrenheit. Grease well or line a muffin pan.
  2.  In a large bowl, combine all ingredients. T-Rex loves to help with this part! IMG_20130927_120955IMG_20130927_121014
  3. Fill muffin tins to desired height. These muffins don't rise much, so the point at which you fill the tin will be the height of the muffin.IMG_20130927_124550
  4. Bake muffins 20-25 minutes. They should be well browned on the tops.
  5. Allow muffins to cool, then use a fork around the edge of the tin to remove the muffins.
  6. Enjoy before they are gone!  I intended to take some pretty pictures of the finished product, but they were pretty much gone right out of the oven.  Hubster and T-Rex love these things!  I have to admit that they are awesome.
Tomorrow I plan on trying out a pumpkin cream cheese frosting to put on another batch of muffins. If it turns out, I will edit this to share.
I hope you enjoy this recipe! Until next time.
Φιλάκια, 
Eleni

Personal Care with Baking Soda and Apple Cider Vinegar

Somehow, in the millions of genetic combinations possible, even with the wonderful dominance of Greekness, my beautiful mother blessed me with her side's sensitive...everything. I have psoriasis, a yearly bout of eczema-like rash on my hands in the winter, and extremely dry, yet sensitive skin all around. At the same time, I try to be very conscious about the ingredients in the products I use.
Have any of you ever looked at the prices of the more natural or organic products out there? Burt's Bees, I have found, is one of the most affordable ones, but even their products are much pricier than what you can find easily at most stores. So, in my pursuit of natural care products, I have been experimenting with using baking soda and apple cider vinegar. I want to share what I have been using, because I have had some awesome results.
First, let's start with the face. I can't find a single face wash that does not completely dry out my T-zone (the t-shaped area of the face across the forehead and down the nose and chin). I have started using just baking soda and water as a sort of face scrub. All my spots have cleared up and I have no dryness in the T-zone! Sweet success!!
Baking Soda Face Scrub: 
  • About 1 T. Baking Soda 
  • Enough water to make a paste.
  1. Scrub all over your face. Rinse. Try not to get in or on your lips/mouth. Baking soda is sodium bicarbonate, after all, and is salty and yucky-tasting!

I follow up this scrub with a homemade Apple Cider Vinegar toner. I have stored this in a little labeled squeeze bottle. Honestly, it is the heaven-sent squeeze bottle they give you in the hospital after you have a baby. I promise that it is well washed!
Apple Cider Vinegar Toner:                                                                                                     
  • 1 part apple cider vinegar to 2 parts water  
  • Squeeze bottle or similar container for storage
  1. Use an 1/8 c. measuring cup to alternate 1 part vinegar and 2 parts water into your container until you container is full.
  2. After using your baking soda scrub, dab some toner onto a cotton ball or pad and apply a layer onto your face.

Seriously, my skin is loving this! I wish I would have tried this much sooner. I could have saved myself a lot of time, money, and zits.
I want to share the new regiment I have been using on my hair, but I have a T-Rex tugging on me and biting my typing hands. I suppose it will have to wait for another post. Until next time!
Φιλάκια, 
Eleni

Spaghetti Squash with Stuffed Meatballs

I have been dying to try spaghetti squash as a pasta replacement since Hubster started the keto diet back in May. The only problem was that I could not find any! I had no idea what this particular squash looked liked, and, at the time, our local grocery store had labels for butternut squash and "assorted squash." Really?! Assorted squash....because that is helpful. Not! Well, as I was skimming the produce section last Sunday I finally found spaghetti squash.
I am going to guide you through cooking and stripping the squash, and a very yummy recipe for beef and spinach stuffed meatballs.
Let's start with the squash:
1. Preheat the oven to 375 degrees Fahrenheit. Prep a 9x13 pan by adding about 2 cups of water.
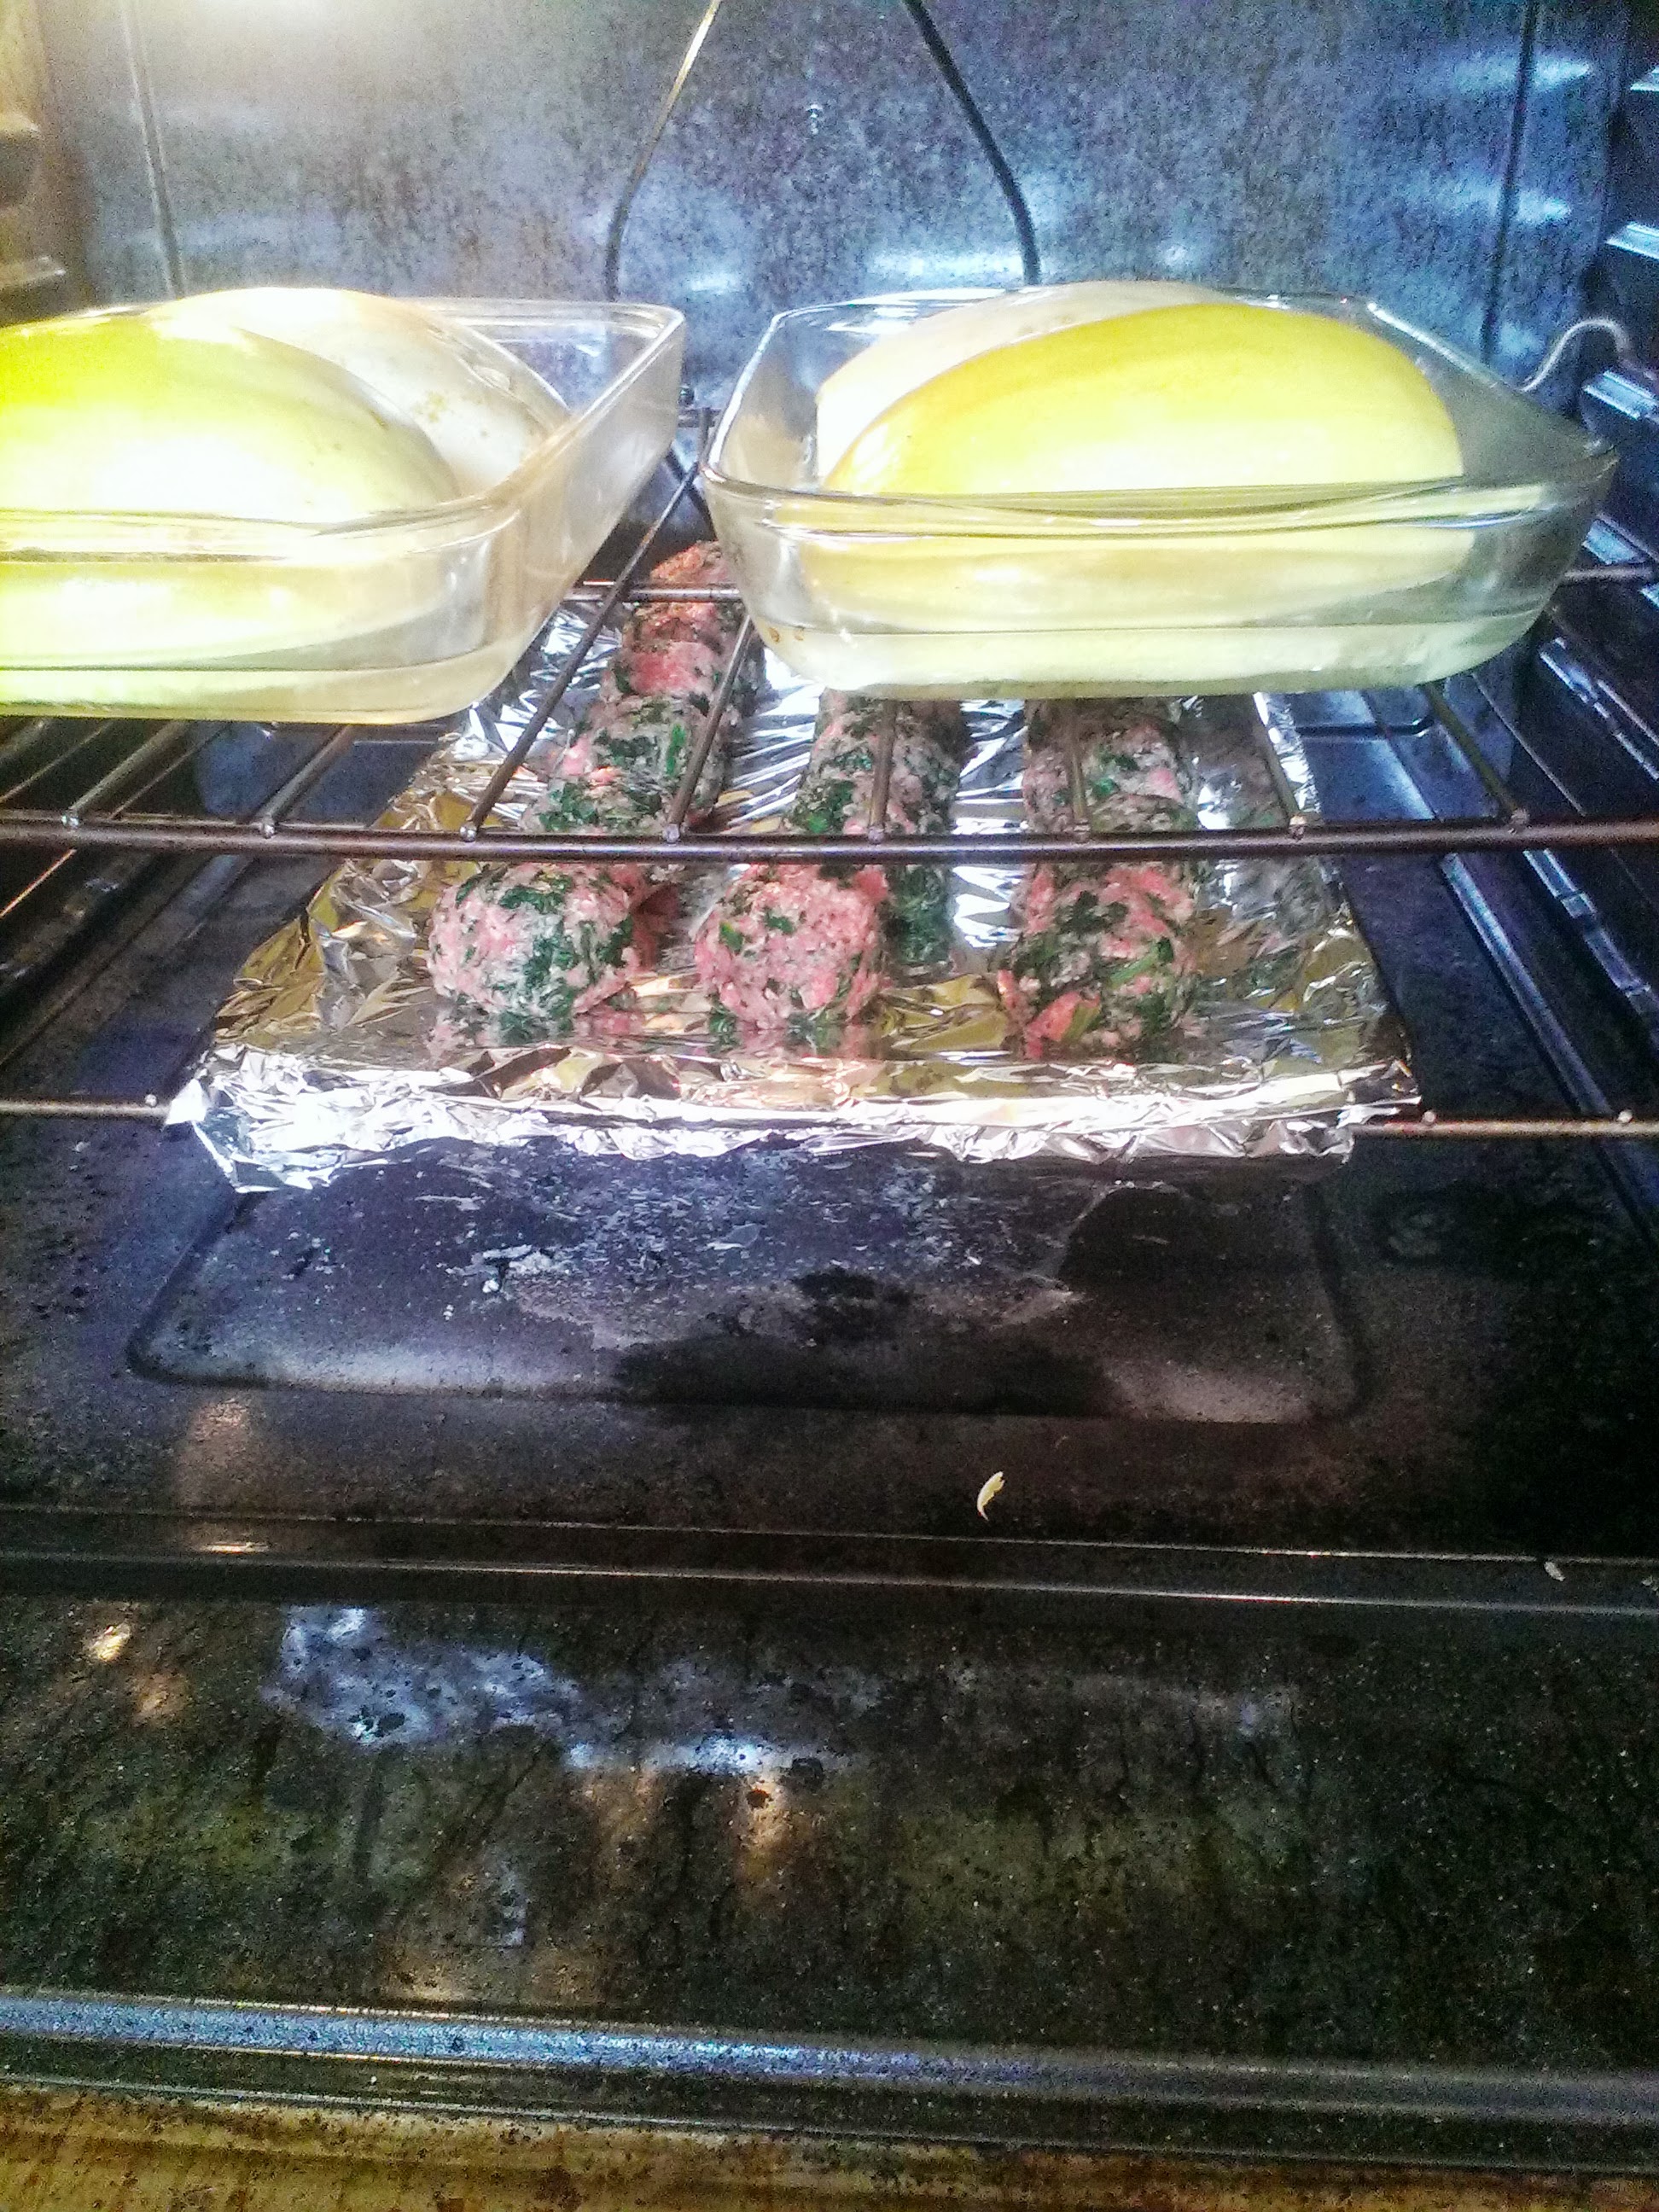
2. Slice the squash lengthwise. I found it was easier to do this after slicing the tops (with the stem) off. Use a spoon to scoop out all of the seeds. Place the squash cut-side down into the pan. Bake for 45 minutes.
IMG_20130915_163117
3. Use tongs to remove the squash out of the pan. I kept an oven mitt on my left hand and used my right to get the "spaghetti" out. Use a fork and strip the "spaghetti" out by starting at the top of the squash and dragging downwards. It will come out very easily.
IMG_20130915_165012 IMG_20130915_164955
4. Strain the "spaghetti" well (I didn't do this step, but wish I had. When I added sauce, the sauce got fairly watered down). Place strained squash into a bowl and season well with salt and pepper.
Now onto the meatballs. You will need:
1 pound of ground beef (but you could really use a pound of any ground meat)
1/2 pound frozen chopped spinach, cooked
1 egg
Salt, pepper, garlic powder to taste
1 block mozzarella cheese, cubed (you can vary the cheese to your own taste. I plan on trying a variation of this with chicken and feta)
1. Keep the oven heated at 375 (from cooking your spaghetti squash). Line a cookie sheet in foil.
2. In a large bowl, mix the beef, egg, spinach, and spices.
IMG_20130915_161948
3. Scoop out a kitchen spoonful of the meat mixture and flatten slightly in your hand.
IMG_20130915_162026
4. Add a cheese cube to the center of the flattened meat.
IMG_20130915_162113
5. Form a ball around the cheese cube.
IMG_20130915_162015
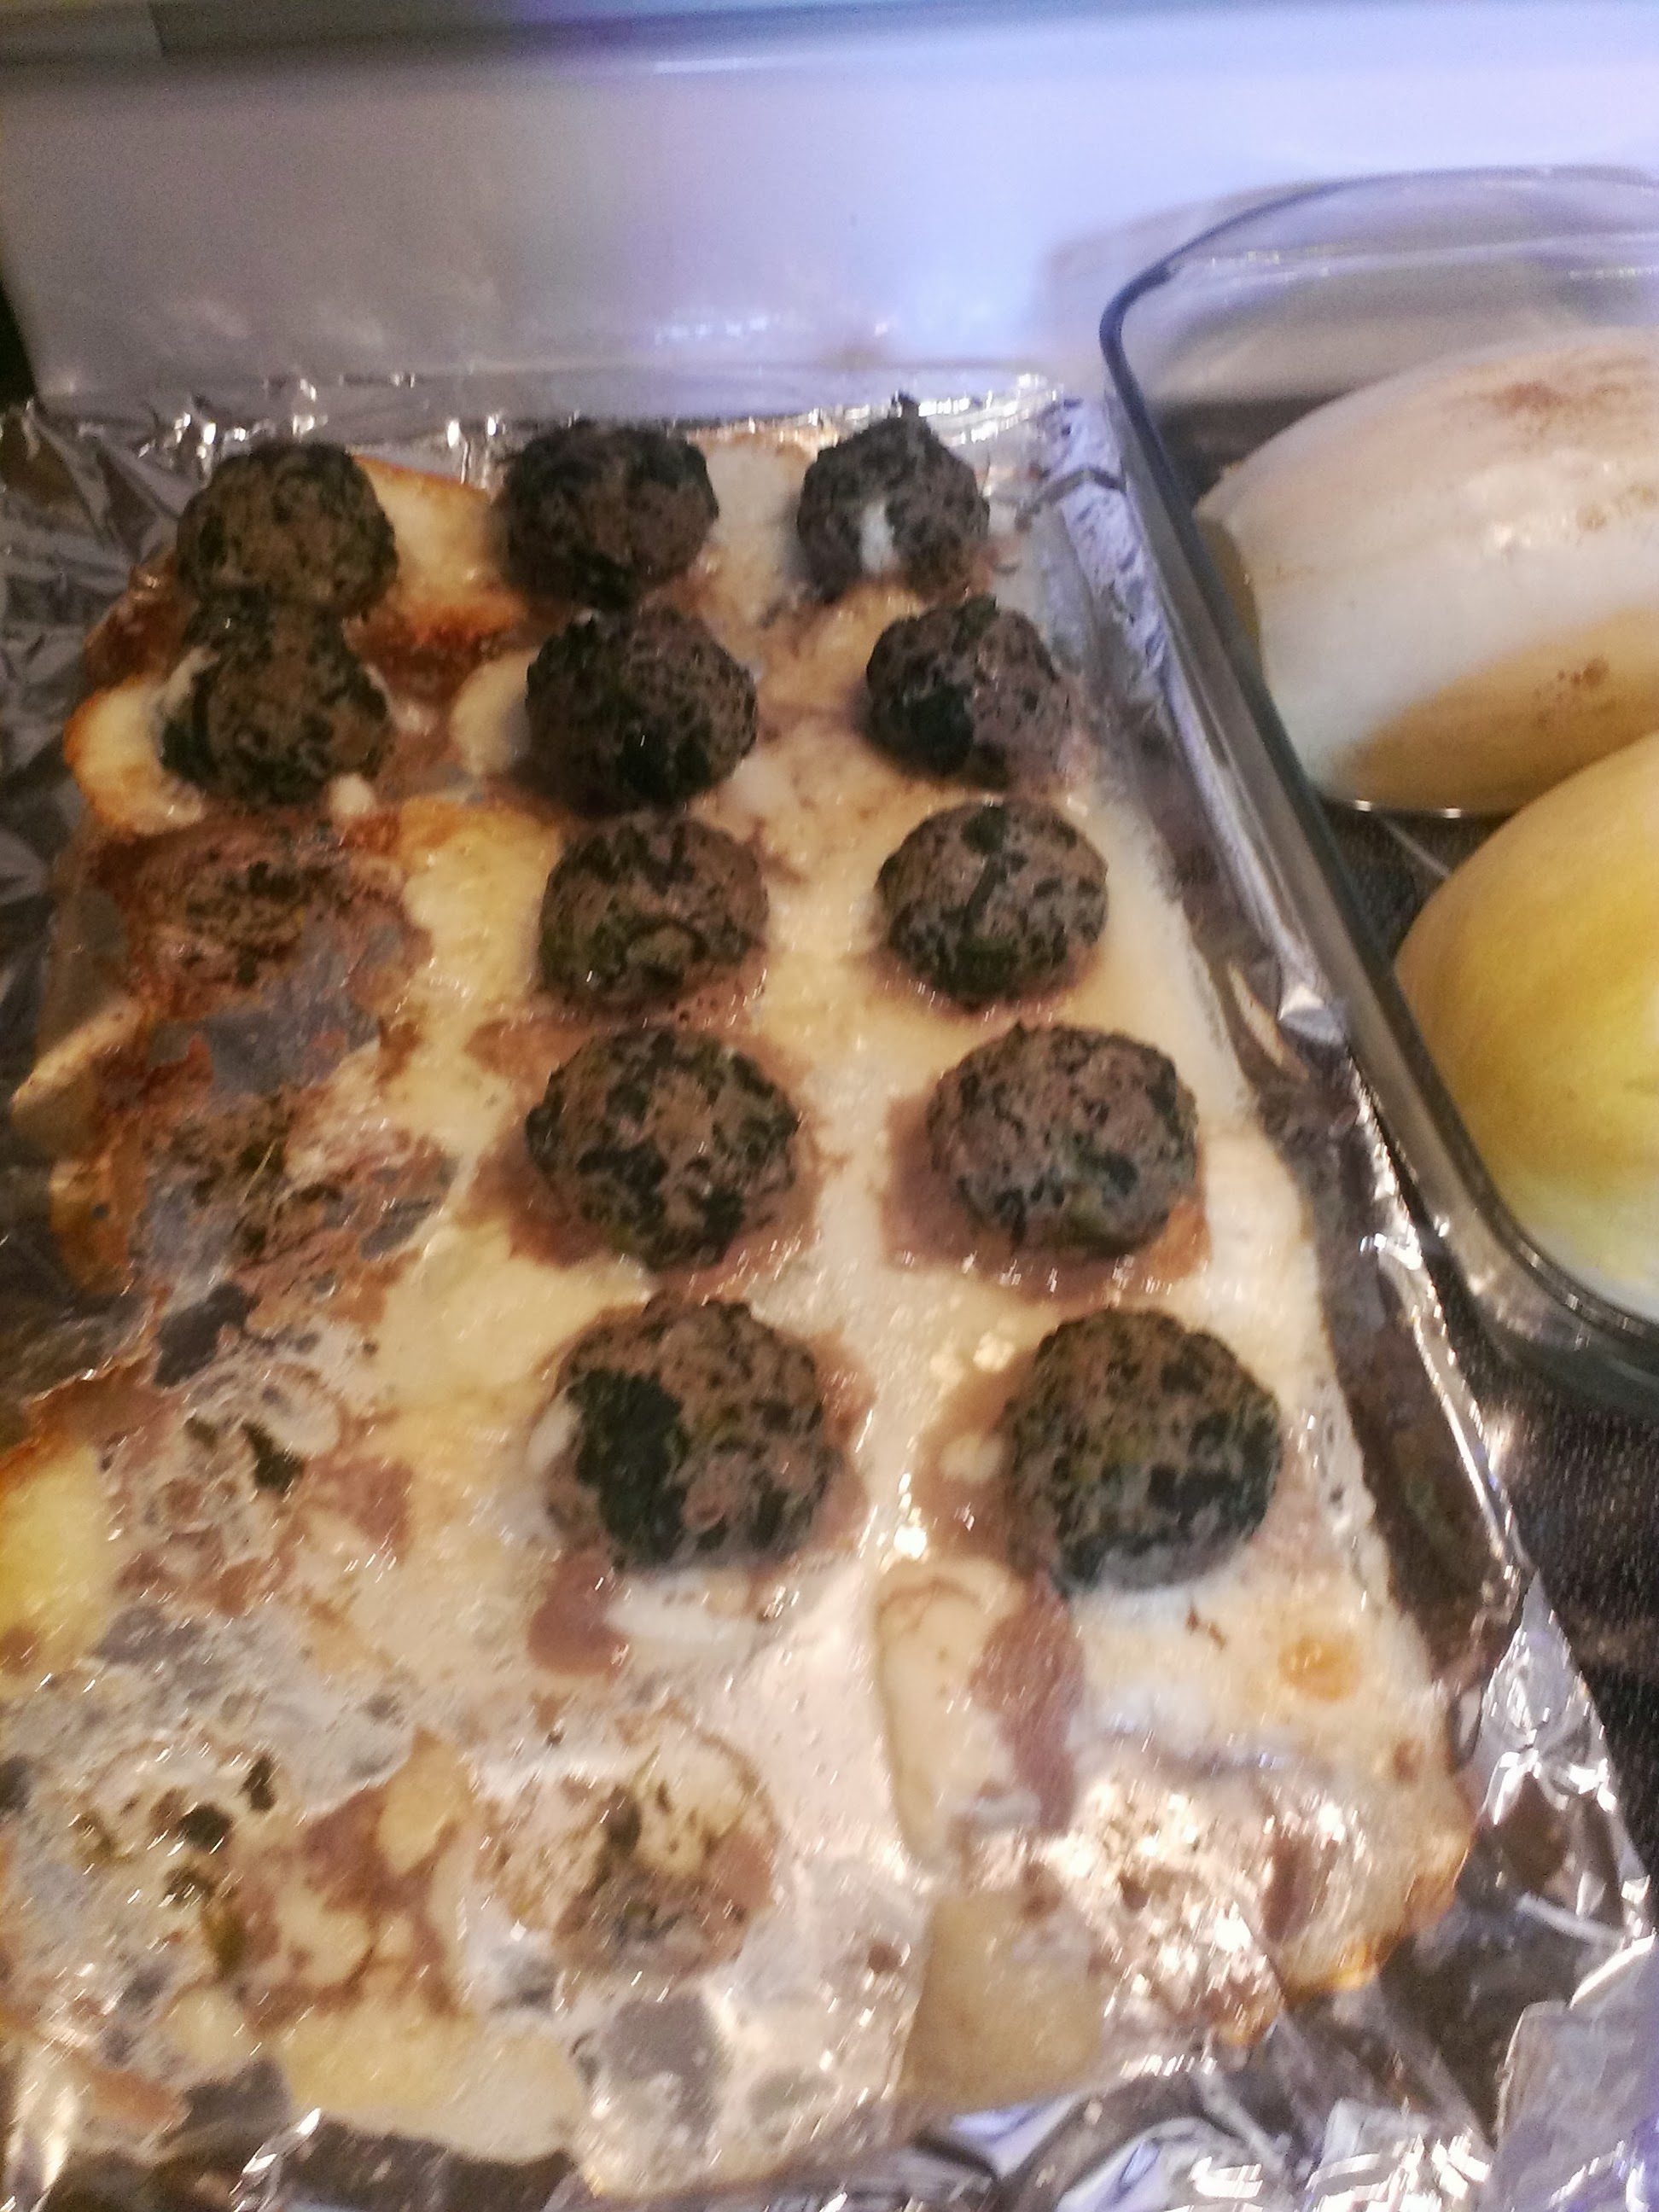
6. Add the stuffed meatballs to the lined pan. Bake for 25 minutes. I found it very helpful to keep our meat thermometer handy for this, just in case. This would be crucial if you were using meats other than beef, since the cook time might differ. Ground beef or pork should be cooked to 160 degrees. Ground chicken or turkey should be cooked to 165 degrees.
IMG_20130915_163051
Once your squash and meatballs finish cooking, you can combine them with your favorite pasta sauce and your delicious dinner is ready! I used a basic tomato sauce, but next time I think we will try Alfredo.
IMG_20130915_165955 IMG_20130915_170248
This was an awesome dinner that I am sure we will be repeating as often as I can find spaghetti squash. I hope you enjoy it as much as we did.
Happy eating!
Φιλάκια, 
Eleni